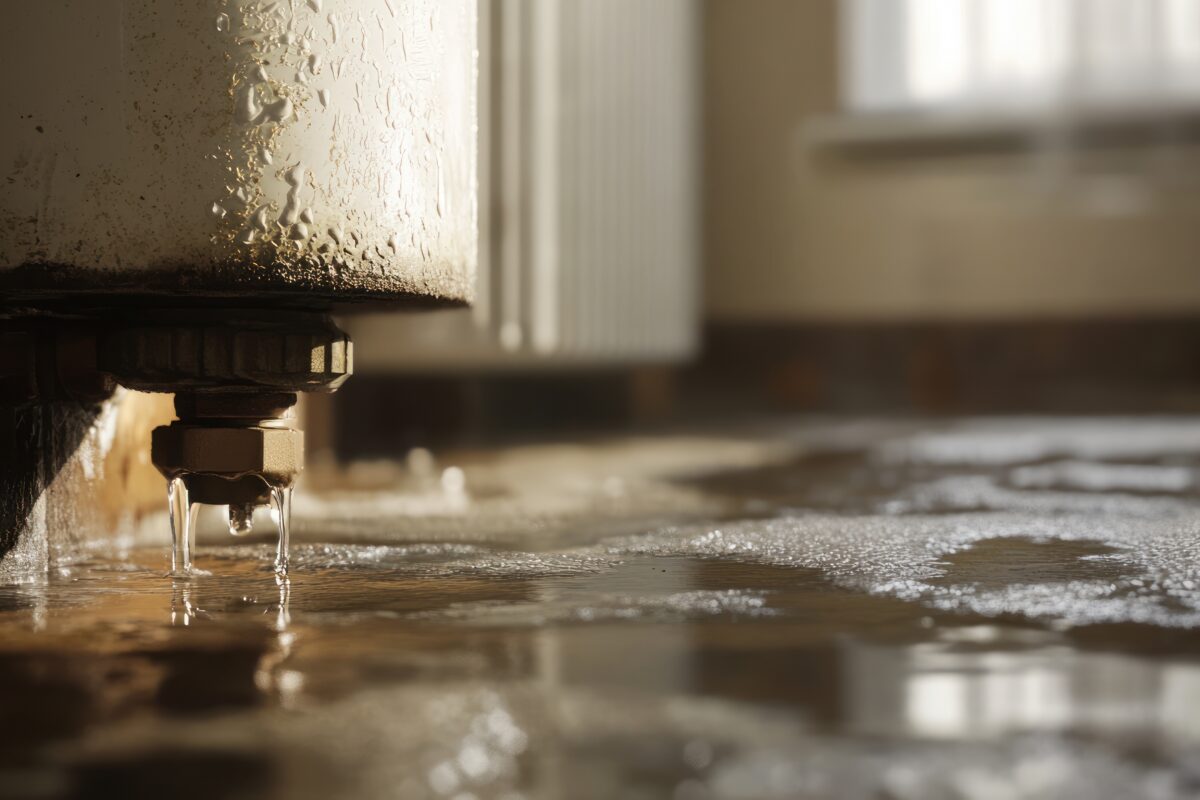
A water line repair is a critical service that homeowners may face unexpectedly. When you notice signs of a water line issue—such as low water pressure, discolored water, or soggy spots in your yard—acting quickly can prevent costly damage. Beis Plumbing, serving the St. Louis area, specializes in fast, reliable water line repair to keep your home safe and your water flowing.
Recognizing the Signs of Water Line Problems
Early detection is key to minimizing the impact of a water line leak or break. According to the EPA, the average household’s leaks can account for nearly 10,000 gallons of wasted water each year. Common signs you may need a water line repair include:
- Sudden drop in water pressure throughout your home
- Unexplained increase in your water bill
- Wet or muddy patches in your yard, even during dry weather
- Rusty or discolored water coming from your faucets
- Unusual sounds, like hissing or bubbling, from your pipes
If you notice any of these issues, it’s important to contact a professional plumber right away.
Steps to Take When You Suspect a Water Line Issue
If you think you need a water line repair, follow these steps to protect your property and minimize water loss:
- Shut off your main water supply to prevent further leakage
- Check for visible signs of water damage inside and outside your home
- Document any changes in water pressure or water quality
- Contact a licensed plumber, like Beis Plumbing, for a professional assessment
According to HomeAdvisor, the average cost of a main water line repair ranges from $300 to $1,250, but early intervention can help avoid more expensive repairs or property damage.
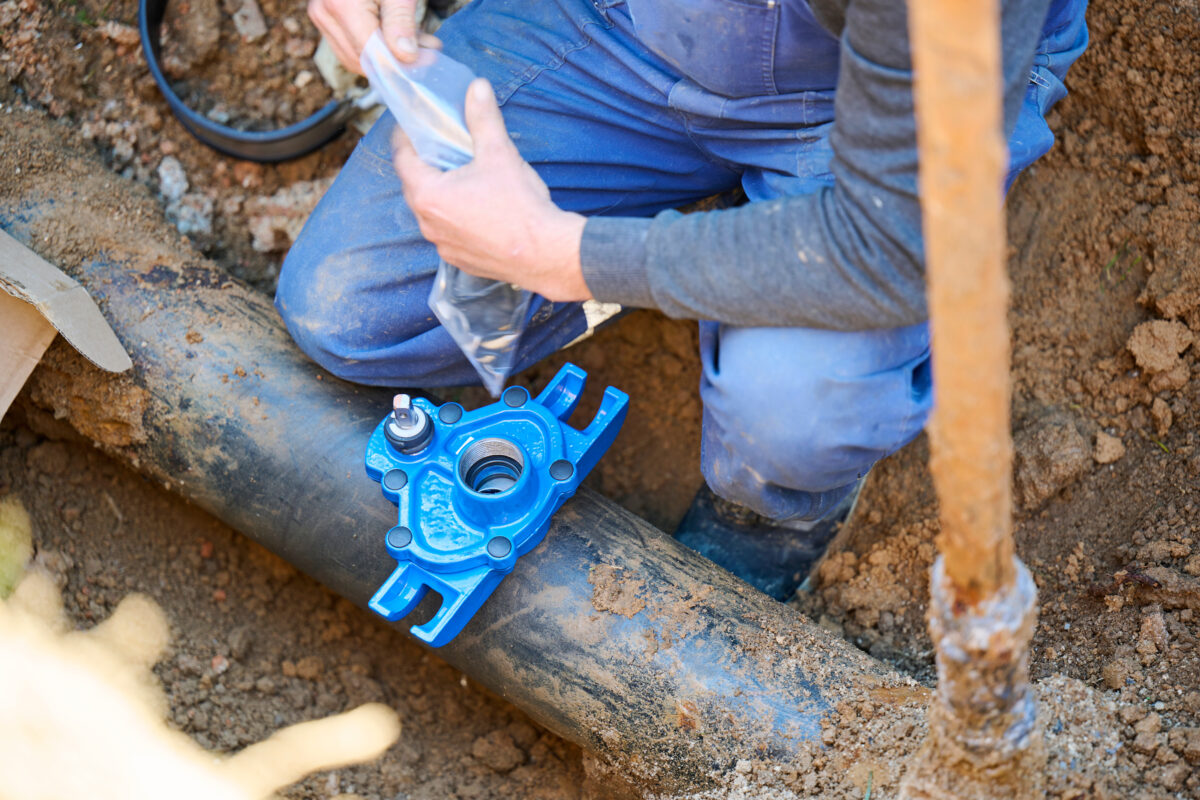
How Beis Plumbing Handles Water Line Repair
Beis Plumbing uses advanced diagnostic tools to locate leaks and assess the condition of your water line. Our experienced team provides:
- Thorough inspections using camera technology
- Efficient repairs with minimal disruption to your property
- Replacement of damaged sections when necessary
- Advice on preventing future water line issues
For more information on our full range of plumbing services, visit our Plumbing Services page.
Preventing Future Water Line Problems
Regular maintenance and prompt repairs are the best ways to avoid major water line issues. Beis Plumbing recommends:
- Scheduling annual plumbing inspections
- Replacing old or corroded pipes before they fail
- Monitoring your water bill for unexpected increases
- Addressing minor leaks immediately
Contact Beis Plumbing for Water Line Repair
If you suspect a problem with your water line, don’t wait. Contact Beis Plumbing for expert water line repair and peace of mind. As the premier St. Louis plumber, we offer a wide range of services to cater to both residential and commercial clients. Whether it’s routine maintenance, repairs, or new installations, Beis Plumbing has the skills and tools to handle it all.