Categories Plumber

What Does A Plumbing Inspection Look At?

What Does A Plumbing Inspection Look At

If you’ve never booked a plumbing inspection before, you might not be sure what to expect. What exactly are plumbers looking for, and why does it matter if everything seems to be working fine? A thorough inspection is like a health checkup for your home’s water and drainage systems, catching small issues before they turn into expensive emergencies.

Why a plumbing inspection is worth it

Many leaks and defects hide behind walls, under floors, or in the yard where you can’t see them. According to the U.S. Environmental Protection Agency’s WaterSense program, household leaks can waste more than 10,000 gallons of water per home every year – enough for hundreds of loads of laundry. That’s a powerful reason to schedule a $70 whole-home plumbing inspection with a licensed plumber instead of waiting for a visible problem.

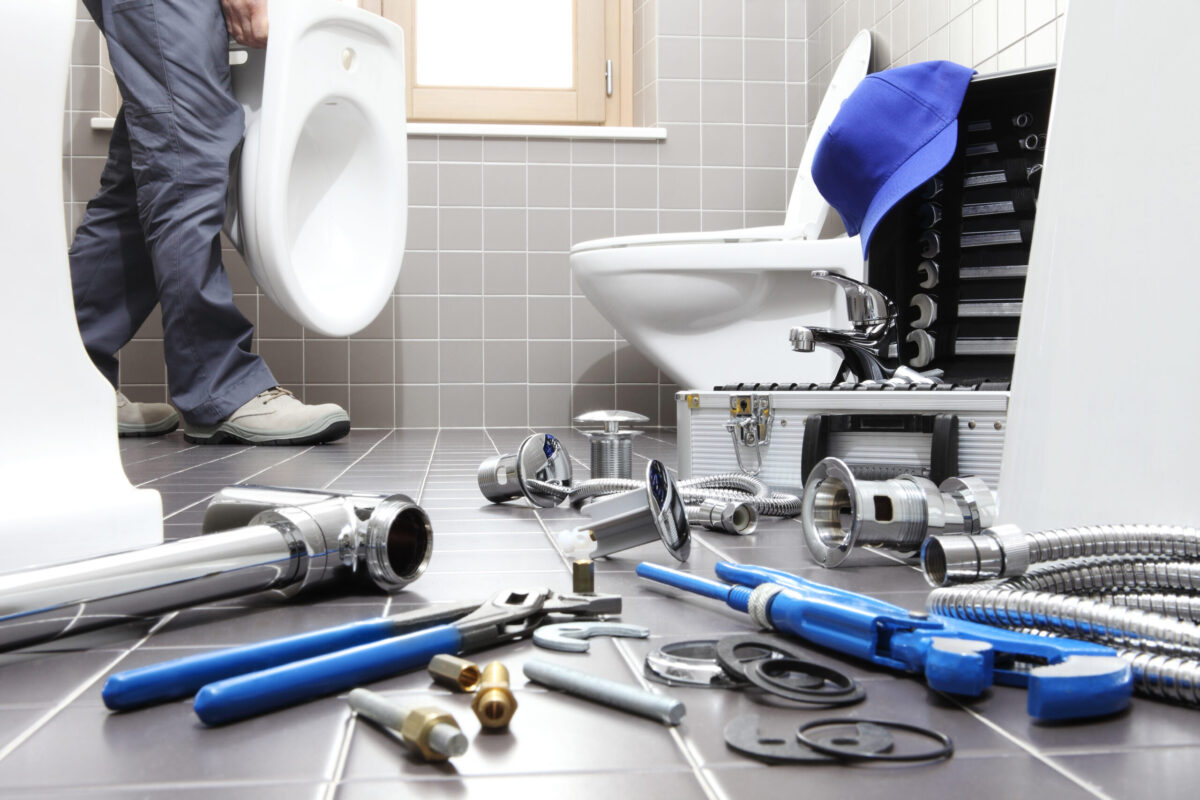
During a visit, your plumber doesn’t just glance at fixtures. They follow a structured plumbing inspection checklist that covers your entire system, from the water meter to the sewer line.

Key areas a plumbing inspection covers

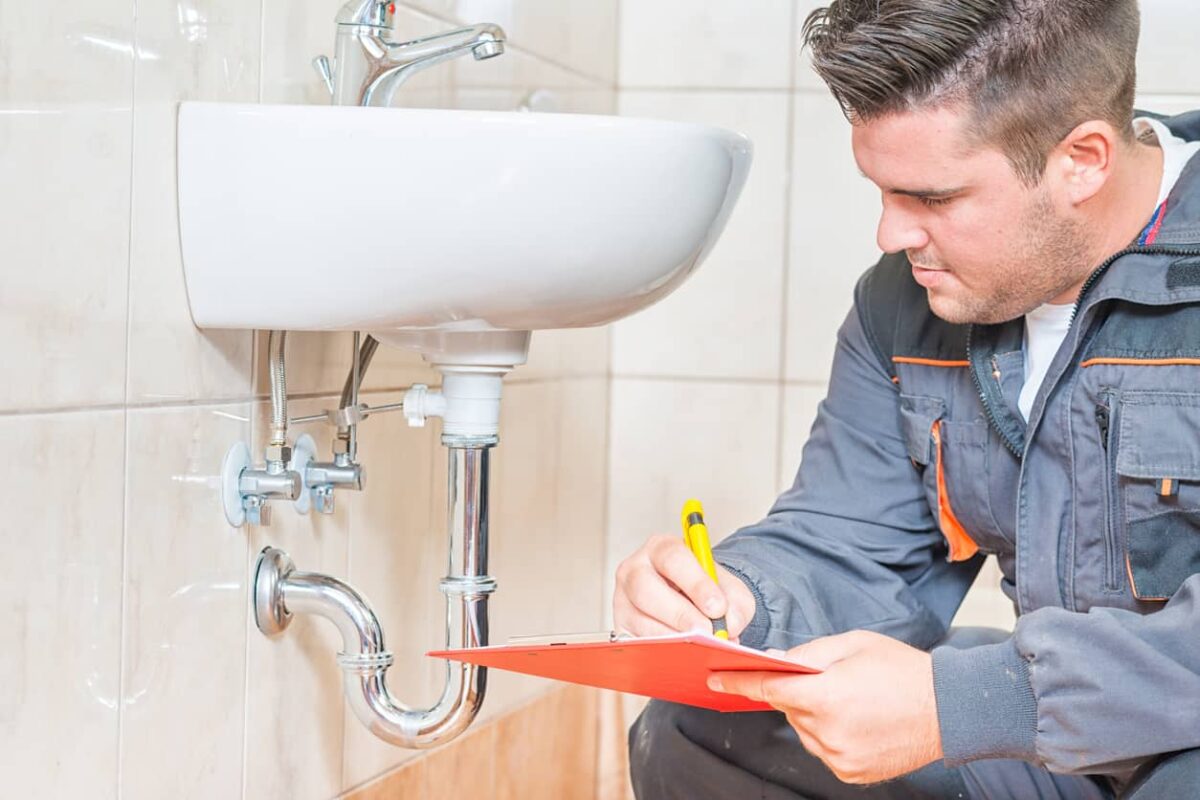
1. Water supply and shut-off valves

Your plumber will:

  • Locate and test the main shut-off valve
  • Check individual fixture shut-offs under sinks and behind toilets
  • Look for signs of corrosion, mineral buildup, or slow leaks

If a sudden leak happens, a working shut-off can be the difference between a quick mop-up and major water damage. When there are signs of hidden issues behind walls or under slabs, your plumber may also recommend a professional leak detection service to pinpoint the exact source.

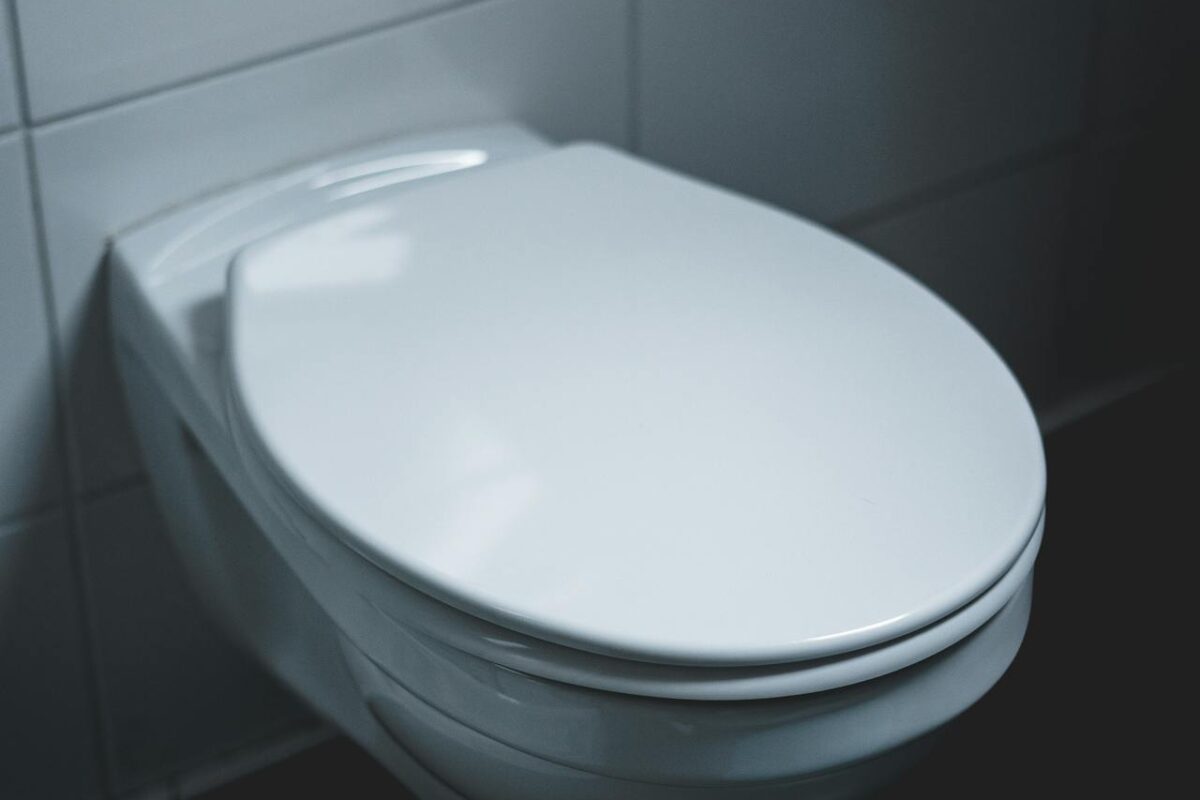
2. Fixtures, taps, and toilets

A full plumbing inspection always includes sinks, showers, tubs, and toilets. The plumber checks:

  • Water pressure and flow
  • Drips, stains, and loose fittings
  • Toilet flushing performance and tank components

Even a slow-dripping faucet or running toilet can send your water bill soaring over time.

3. Drains and sewer line

Slow drains are more than an annoyance. During the inspection, the technician may use a sewer/main line camera inspection to:

  • Look for partial blockages from grease, hair, or debris
  • Spot root intrusion in older sewer lines
  • Identify pipe sagging, cracks, or misaligned joints

If the inspection uncovers stubborn clogs, rooter drain clearing can restore proper flow before those small issues turn into messy backups.

4. Water heater and appliances

Your water heater works hard every day. As part of this visit, the plumber will:

  • Check age, capacity, and installation
  • Inspect for rust, leaks, or gas and electrical issues
  • Verify temperature settings and safety valves

The U.S. Department of Energy recommends setting most household water heaters to around 120°F to balance safety, comfort, and energy efficiency.

They may also look over dishwashers, washing machines, and other water-using appliances for hidden leaks and worn hoses. If your plumber finds serious wear or safety concerns, they may recommend water heater repair in St. Louis to restore safe, reliable hot water.

How often should you schedule a plumbing inspection?

For most homes, a routine plumbing inspection every one to two years is a smart preventive step. Older houses, homes with large trees near sewer lines, or properties that have had previous leaks or backups may benefit from annual visits.

Pairing a yearly inspection with other home maintenance – like roof or HVAC servicing – makes it easier to remember and budget for. State agencies such as the Missouri Department of Natural Resources also encourage homeowners to repair leaks promptly to conserve water and protect local supplies. The small upfront cost of a plumbing inspection is minor compared to emergency call-outs, water damage repairs, or replacing damaged flooring and cabinets.

Ready to protect your home?

If you’re noticing higher water bills, slow drains, or just haven’t had a plumbing inspection in a few years, now is the perfect time to schedule one. A professional, whole-home plumbing inspection will give you a clear picture of your system’s condition and a prioritized list of any repairs. Contact Beis Plumbing team today to book your inspection and keep your home safe, efficient, and leak-free.

Categories Plumber

How to winterize a camper! Plumbing tips and more!

how to winterize a camper

If you are wondering how to winterize a camper without damaging your plumbing, you are already ahead of many RV owners. A little prep now can protect your rig and help you avoid costly repairs when camping season returns.

Why learning how to winterize a camper matters

When water freezes inside pipes it expands, builds pressure, and can crack lines or water heaters. Officials estimate that about a quarter-million homes are damaged each winter by frozen water pipes, and even a tiny crack can leak hundreds of gallons a day. Michigan’s guide to preventing frozen pipes at home shows how quickly that damage adds up.

That same freezing pressure can devastate your camper’s plumbing. Learning how to winterize a camper helps protect:

  • Water tanks and supply lines
  • Faucets, the water pump, and the water heater

If you have ever dealt with frozen pipe repair, you already know how quickly winter damage can add up.

Step-by-step: how to winterize a camper plumbing system

1. Drain every drop of water

The first rule of how to winterize a camper is simple: water out, then antifreeze in. Turn off and cool the water heater, open the low-point drains and fresh-water tank, open every faucet, and flush the toilet until water stops.

Let everything drain so there is no standing water in your lines. To understand why this matters, review our guide on how to avoid needing a burst pipe repair.

For your house plumbing, the U.S. Department of Energy offers tips for avoiding frozen pipes and heat loss in winter that match the steps you are taking on your camper.

2. Bypass and empty the water heater

Set the water-heater bypass so you do not waste antifreeze, then remove the drain plug or anode rod, let the tank empty, and leave the plug out until spring.

If your home water heater needs attention, our team that handles water heater repair in St. Louis can keep your system running efficiently through the cold months.

3. Pump RV antifreeze through the system

Now comes the most important part of how to winterize a camper safely: replacing any remaining water with RV antifreeze.

  • Use the winterizing pickup tube or a pump-converter kit to draw antifreeze from the jug.
  • Turn on the pump and open each faucet one at a time until you see solid pink fluid.
  • Remember fixtures such as outside showers or washer hookups.
  • Pour a cup of antifreeze into each drain and a few cups into the toilet to protect the tanks and seals.

Winterization is also a good time to think about water quality. The CDC offers guidance on keeping RV water systems clean and safe to drink, from how you fill your tank to what comes out of the tap.

Beyond plumbing: how to winterize a camper inside and out

A solid plumbing job is only part of how to winterize a camper. Remove liquids that can freeze, seal windows and roof vents, and use a breathable RV cover if you have one. To protect your home as well, read our basement flooding prevention guide.

Get help winterizing your camper

If this process feels overwhelming or you are short on time, you do not have to handle how to winterize a camper alone. Our RV maintenance specialists can manage the full winterization process.

If you find leaks or other issues while you work, our plumbing repair services near Eureka, Missouri are ready to help. Contact Beis Plumbing today to schedule your professional camper winterization before the first hard freeze hits!

Categories Plumber

How to Winterize A Toilet

How to Winterize A Toilet

When temperatures plunge, learning how to winterize a toilet can save you from frozen pipes, leaks, and costly water damage, especially if you’re leaving home for a winter getaway. Taking the time to prep your toilet now can help you avoid emergency calls in the middle of a snowstorm, insurance claims, and long-term issues like mold or warped flooring. The process is simple, doesn’t require advanced tools, and can be done in less than an afternoon for most homes.

Why winterizing your toilet matters

A single burst pipe can cause thousands of dollars in repairs, and frozen pipes impact over 250,000 homes in the U.S. each year, leading to billions in damage. That’s why knowing how to winterize a toilet isn’t just a nice-to-have—it’s essential home protection. Winterizing also gives you peace of mind if you own a vacation property or plan to be away from home for more than a few days. By reducing the amount of water in your fixtures, you’re limiting the chance of hidden damage that may not be discovered until months later.

Supplies you’ll need

Before you begin, gather a few basics so the process goes smoothly:

  • Adjustable wrench
  • Plunger or shop vac
  • Non-toxic RV antifreeze (never automotive)
  • Towels or rags
  • Small cup or sponge

Having these ready makes each step of how to winterize a toilet quicker and less messy.

How to winterize a toilet step-by-step

  1. Shut off the water supply.
    Turn the valve behind or near the toilet clockwise until it stops. This prevents new water from entering the tank and bowl.
  2. Flush and drain the tank.
    Flush until the tank is mostly empty. Hold the handle down to remove as much water as possible, then sponge or shop-vac out the remainder.
  3. Remove water from the bowl.
    Use a cup or shop vac to lower the water level in the bowl. Leave a small amount to create a seal against sewer gases.
  4. Add RV antifreeze.
    Pour RV antifreeze into the tank and bowl. This is one of the most important parts of how to winterize a toilet because it helps protect any remaining water from freezing and expanding.
  5. Protect nearby plumbing.
    Open vanity doors so warm air can reach pipes and keep the home at least 55°F. The U.S. Department of Energy notes that pipes are most at risk of freezing when temperatures drop below about 20°F. [2] For a broader winter checklist, you can also follow the American Red Cross guidance on frozen pipes.

Extra tips for bathrooms at higher risk

Some bathrooms need more attention when you’re deciding how to winterize a toilet:

  • Toilets on exterior walls or above unheated garages
  • Guest baths that rarely get used
  • Vacant homes, rentals, or cabins

In these areas, consider additional pipe insulation, shutting off the home’s main water valve, and scheduling a whole-home plumbing inspection before you leave.

When to call a professional

If you’re not comfortable handling how to winterize a toilet on your own—or if you suspect a pipe has already frozen—it’s time to bring in an expert. Contact Beis licensed plumbers now to inspect your system, protect vulnerable toilets and pipes, and handle any needed repairs before winter hits.

We can also help you boost efficiency with water quality upgrades and general plumbing maintenance, so your plumbing is in great shape after winter is over.

Categories Plumber

10 Must-Know Plumbing Tips Every Homeowner Should Follow

plumbing tips

Every homeowner can benefit from practical plumbing tips to keep their home running smoothly and avoid costly repairs. Whether you’re a new homeowner or have years of experience, these plumbing tips will help you maintain your system, prevent emergencies, and save money. Beis Plumbing, serving the St. Louis area, shares these essential plumbing tips to keep your home in top shape.

1. Know Where Your Main Water Shut-Off Valve Is

One of the most important plumbing tips is to locate your main water shut-off valve. In an emergency, shutting off the water quickly can prevent major damage. According to the American Red Cross, water damage claims are among the most common insurance claims in the U.S.

2. Prevent Clogged Drains

Avoid putting grease, coffee grounds, and food scraps down the kitchen sink. Use drain screens to catch hair and debris in the bathroom. Regularly cleaning your drains is one of the best plumbing tips for preventing blockages.

3. Fix Leaks Promptly

Even a small leak can waste a significant amount of water. The EPA reports that household leaks can waste nearly 1 trillion gallons of water annually nationwide. Address leaks as soon as you notice them.

4. Insulate Pipes in Cold Weather

Frozen pipes can burst and cause extensive damage. Insulate exposed pipes in unheated areas, such as basements and garages, to prevent freezing during winter.

5. Don’t Ignore Slow Drains

A slow drain can be a sign of a developing clog. Use a plunger or a plumber’s snake to clear minor blockages, or contact a professional if the problem persists.

6. Avoid Chemical Drain Cleaners

Chemical cleaners can damage your pipes and harm the environment. Opt for natural solutions or call a plumber for stubborn clogs.

7. Test Your Water Pressure

High water pressure can strain your plumbing system and lead to leaks. Use a pressure gauge to check your home’s water pressure and keep it within the recommended range (generally 40-60 psi).

8. Maintain Your Water Heater

Flush your water heater annually to remove sediment buildup and extend its lifespan. For more information, visit Beis Plumbing’s Water Heater Services page.

9. Be Careful What You Flush

Only flush toilet paper and human waste. Items like wipes, paper towels, and feminine hygiene products can cause serious blockages.

10. Schedule Regular Plumbing Inspections

Annual inspections by a licensed plumber can catch small issues before they become big problems. Preventative maintenance is one of the most valuable plumbing tips for homeowners.

Bonus: Join a Plumbing Maintenance Plan

Consider joining a maintenance plan, like those offered by Beis Plumbing, to receive discounts, priority service, and regular checkups. Learn more about their Home Service Maintenance Plans.

Why Trust Beis Plumbing?

Beis Plumbing is locally owned, fully licensed, and committed to customer satisfaction. Their team offers same-day service, 24/7 live answering, and flexible financing options. Hundreds of positive reviews and an A+ BBB rating make them a trusted choice for all your plumbing needs.

Contact Beis Plumbing for Expert Help

If you need help with any plumbing issue, don’t hesitate to contact Beis Plumbing for fast, reliable service.

Categories Plumber

How to Choose the Best Local Plumber Near Me

local plumber near me

Finding a reliable local plumber near me is essential for homeowners who want fast, trustworthy service. With so many options available, it can be challenging to know who to trust with your home’s plumbing needs. Beis Plumbing, serving the St. Louis area, shares expert tips on how to choose the best local plumber near me for any job.

Why Choosing the Right Plumber Matters

A skilled local plumber near me can save you time, money, and stress. According to the Angi, hiring a licensed and insured plumber reduces the risk of costly mistakes and ensures quality work.

  • Proper licensing and insurance
  • Experience with a variety of plumbing issues
  • Positive customer reviews and ratings
  • Transparent pricing and warranties

The best local plumbers also offer emergency services for urgent situations like burst pipes or severe leaks that can’t wait for regular business hours. They should provide upfront estimates before beginning work and be willing to explain the problem and solution in terms you can understand. Additionally, reputable plumbers stand behind their work with solid warranties and maintain clean, professional appearances when working in your home. Building a relationship with a trusted local plumber means you’ll have reliable help whenever plumbing issues arise, often with priority scheduling for established customers.

What to Look for in a Local Plumber Near Me

When searching for a local plumber near me, consider these factors:

  • 24/7 emergency service availability
  • Same-day appointments for urgent repairs
  • Up-to-date with the latest plumbing technologies
  • Membership in professional organizations

According to the Better Business Bureau, checking for BBB accreditation and an A+ rating is a good indicator of a reputable plumber.

Questions to Ask Before Hiring

  • Are you licensed and insured?
  • Can you provide references or reviews?
  • What is your pricing structure?
  • Do you offer warranties on your work?

For more information on Beis Plumbing’s credentials and services, visit their About Us page.

Benefits of Choosing Beis Plumbing

Beis Plumbing stands out as a top choice for a local plumber near me in St. Louis. They offer:

  • Same-day service and 24/7 live answering
  • Flexible financing options
  • Military and senior discounts
  • Hundreds of positive reviews and an A+ BBB rating

Contact Beis Plumbing for Reliable Service

If you’re searching for a local plumber near me, contact Beis Plumbing for fast, professional service in the St. Louis area.